# nginx
本文参考自:https://juejin.cn/post/6844904129987526663
“Nginx 是一款轻量级的 HTTP 服务器,采用事件驱动的异步非阻塞处理方式框架,这让其具有极好的 IO 性能,时常用于服务端的反向代理和负载均衡。”
# 安装
在 mac 上按照以下来安装:
brew install nginx
nginx -v # 查看版本
启动 Nginx:
sudo nginx停止 Nginx:
sudo nginx -s stop热重启 Nginx:
sudo nginx -s reload强制停止 Nginx:
sudo pkill -9 nginx
# 配置文件
/usr/local/etc/nginx/nginx.conf(nginx配置文件路径)/usr/local/var/www(nginx服务器默认的根目录)/usr/local/Cellar/nginx/1.17.9(nginx的安装路径)/usr/local/var/log/nginx/error.log(nginx默认的日志路径)
Nginx 默认配置文件
server {
        # 当nginx接到请求后,会匹配其配置中的service模块
        # 匹配方法就是将请求携带的host和port去跟配置中的server_name和listen相匹配
        listen       8080;
        server_name  localhost; # 定义当前虚拟主机(站点)匹配请求的主机名

        location / {
            root   html; # Nginx默认值
            # 设定Nginx服务器返回的文档名
            index  index.html index.htm; # 先找根目录下的index.html,如果没有再找index.htm
        }
}
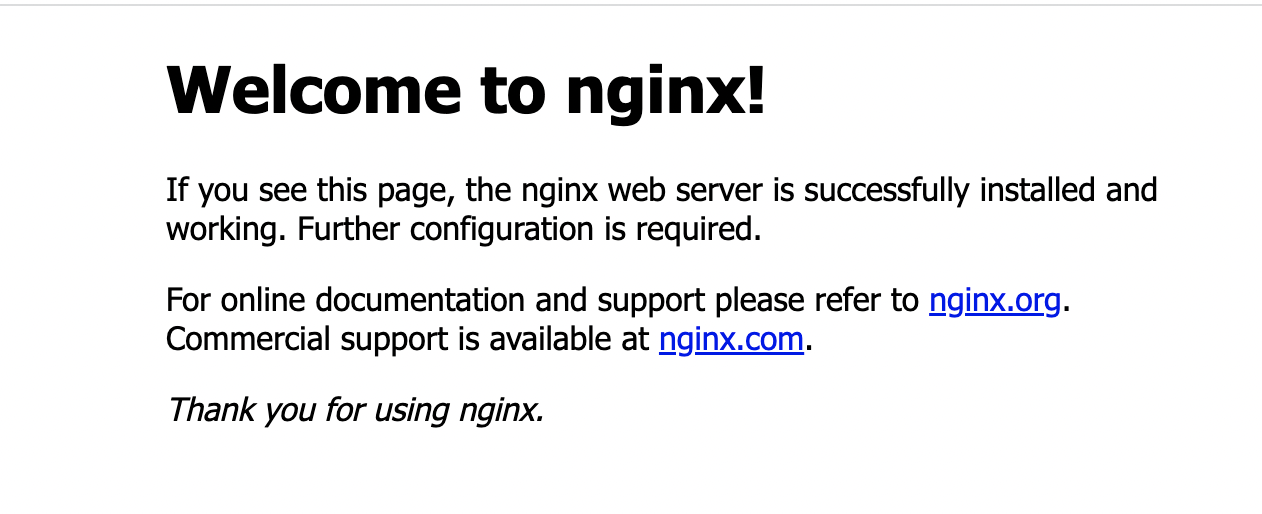
当访问 localhost:8080 时,对应的即是 /usr/local/var/www 路径下的 index.html 文件,如下:

可以在 vscode 中打开对应的 html 文件:
<!DOCTYPE html>
<html>
<head>
<title>Welcome to nginx!</title>
<style>
    body {
        width: 35em;
        margin: 0 auto;
        font-family: Tahoma, Verdana, Arial, sans-serif;
    }
</style>
</head>
<body>
<h1>Welcome to nginx!</h1>
<p>If you see this page, the nginx web server is successfully installed and
working. Further configuration is required.</p>

<p>For online documentation and support please refer to
<a href="http://nginx.org/">nginx.org</a>.<br/>
Commercial support is available at
<a href="http://nginx.com/">nginx.com</a>.</p>

<p><em>Thank you for using nginx.</em></p>
</body>
</html>
# 多个配置文件
我们在使用nginx时,会遇到有多个服务要进行代理,如果我们直接在nginx.conf文件中添加,配置文件会显得
比较臃肿且不好维护。此时我们可以通过include的方式,为每个服务建立nginx的配置文件,这样也便于后期维护。
http {
    # ...
    include /etc/nginx/conf/*.conf;
}
conf 目录下可以有 a.conf 和 b.conf
# 查看 nginx 进程
ps -ef | grep nginx
ps -ef表示显示所有进程的消息。|是管道命令。通常需要借助管道命令”|”多个命令的组合grep是Linux下的文本过滤工具
输出为:

启动nginx以后,有两个nginx进程,一个master进程,一个worker进程,worker进程的父进程 ID 即是master进程,可以在输出的第2列和第3列验证。
根据进程号重启nginx:kill -HUP 进程号(master 的进程号)
# Nginx 主要应用
# 动静分离
动静分离其实就是 Nginx 服务器将接收到的请求分为动态请求和静态请求。
动静分离的一种做法是将静态资源部署在nginx上,后台项目部署到应用服务器上,根据一定规则静态资源的请求全部请求 nginx 服务器,达到动静分离的目标。
server {
        listen       8080;
        server_name  localhost;

        location / {
            root   html; # Nginx默认值
            index  index.html index.htm;
        }

        # 静态化配置,所有静态请求都转发给 nginx 处理
        location ~ .*\.(html|htm|gif|jpg|jpeg|bmp|png|ico|js|css)$ {
            root /usr/local/var/www; # 静态请求所代理到的根目录
        }

        # 动态请求匹配到 path 为 myblog 的就转发到 8081 端口处理
        location /myblog/ {
            proxy_pass http://localhost:8081; # 充当服务代理
        }
}
- 静:访问
localhost:8080/index.html会直接从代理的根目录中去取。 - 动:访问
localhost:8080/myblog/请求会转发到http://localhost:8081处理。
# 场景一
此时假如我本地启动了一个博客服务,地址为:http://localhost:8081,经过以上配置那么当我请求 localhost:8080/myblog/ 就会转发到 http://localhost:8081 上,也会打开博客页面。
http://localhost:8088/myblog/ => http://localhost:8081
正常情况下静态配置用于获取资源文件,动态配置用于转发接口请求给真正的服务。
# 场景二
如果项目分别部署在同一台机器上时,由于无法使用相同的端口,故后端一般会将端口号设置成不同的值(例如8080、8081),但是当前端向后端请求资源时还要加上端口号,未免显得麻烦,故利用可以 nginx 将前端的指定路径代理到后端的8080、8081端口上。
http: {
  server {
    server_name example.com

    location /mail {
    	proxy_pass http:example.com:8080;
    }

    location /user {
    	proxy_pass http:example.com:8081;
    }
  }
}
- 将
http://example.com/mail/下的请求转发到http://example.com:8080/ http://example.com/mail/index.html->http://example.com:8080/index.html- 将
http://example.com/user/下的请求转发到http://example.com:8081/ http://example.com/user/index.html->http://example.com:8081/index.html
# 反向代理
这个功能也就是 nginx 的反向代理功能,即客户端不知道真正请求的服务端,我们可以用反向代理来解决跨域问题。
例如:
- 前端server的域名为:
fe.server.com - 后端服务的域名为:
dev.server.com
现在我在fe.server.com 对 dev.server.com发起请求一定会出现跨域。
现在我们只需要启动一个nginx服务器,将 server_name 设置为 fe.server.com ,然后设置相应的 location 以拦截前端需要跨域的请求,最后将请求代理回dev.server.com。如下面的配置:
server {
        listen       80;
        server_name  fe.server.com;
        location / {
                proxy_pass dev.server.com;
        }
}
这样可以完美绕过浏览器的同源策略:fe.server.com访问nginx的fe.server.com属于同源访问,而nginx对服务端转发的请求不会触发浏览器的同源策略。
# 场景一
访问某一台机器的域名时,我希望返回我上传到 bos 上的 html 地址。
server {
  listen       8088;
  server_name  xxx.com;

  location / {
  	proxy_pass   http://bos/index.html;
  }

}
此时访问的虽然是 xxx.com,但是实际请求的是 http://bos/index.html,对客户端隐藏了真实请求地址。
# 负载均衡
随着业务的不断增长和用户的不断增多,一台服务已经满足不了系统要求了。这个时候就出现了服务器集群。
在服务器集群中,Nginx 可以将接收到的客户端请求“均匀地”(严格讲并不一定均匀,可以通过设置权重)分配到这个集群中所有的服务器上。这个就叫做负载均衡。
# 负载均衡:设置domain
upstream domain {
    server localhost:8000;
    server localhost:8001;
}
server {
        listen       8080;
        server_name  localhost;

        location / {
            # root   html; # Nginx默认值
            # index  index.html index.htm;

            proxy_pass http://domain; # 负载均衡配置,请求会被平均分配到8000和8001端口
            proxy_set_header Host $host:$server_port;
        }
}
8000和8001是我本地起的两个页面,负载均衡成功后可以看到访问 localhost:8080 有时会访问到8000端口的页面,有时会访问到8001端口的页面。